Demystifying the Serger
A gentle, non-technical guide to understanding overlock machines without the overwhelm. Learn what they do, when you need them, and how to start with confidence.
What actually is a Serger?
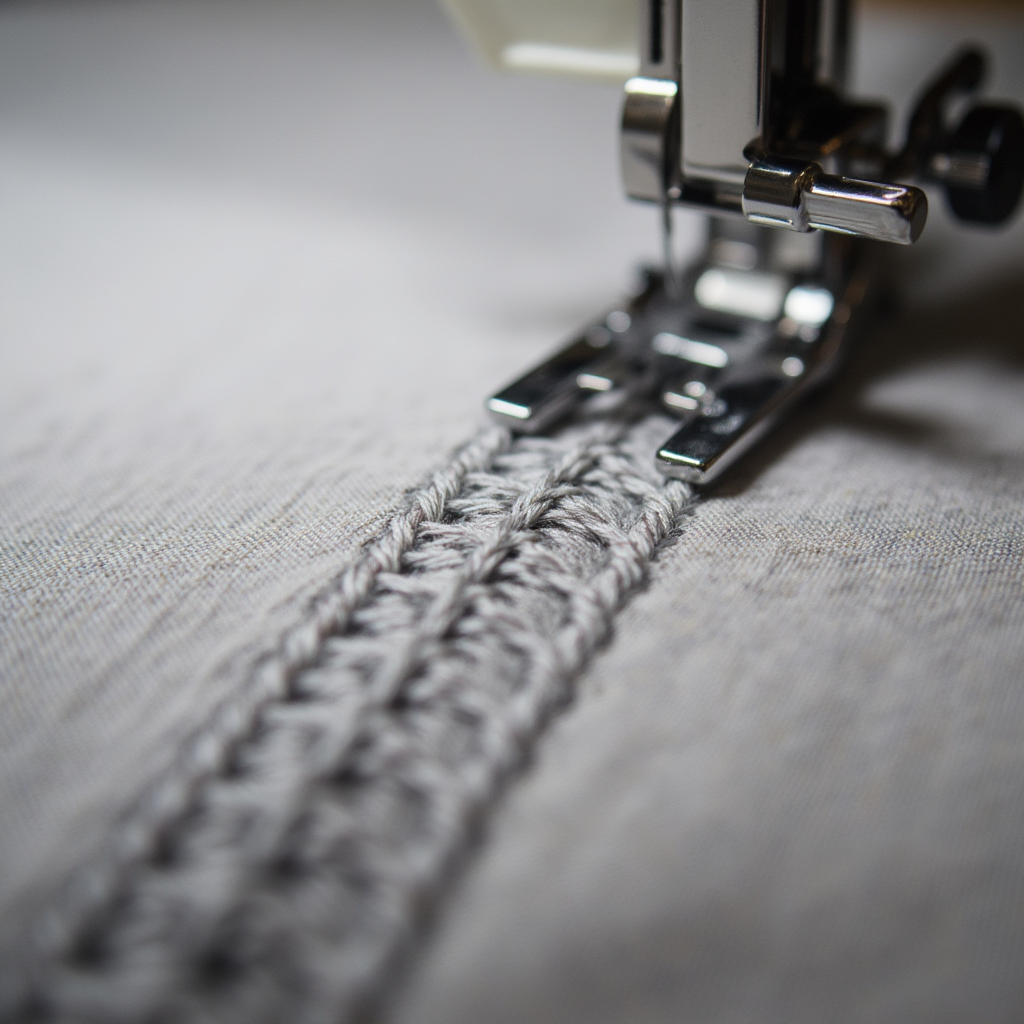
If you've ever looked at the inside of a store-bought t-shirt, you've seen the work of a serger (also known as an overlocker). Most home sergers use 3–4 threads to create strong, flexible seams.
Unlike a standard sewing machine, which primarily stitches two pieces of fabric together, a serger performs three functions simultaneously: it stitches the seam, trims the excess seam allowance, and overcasts the raw edge to prevent fraying.
Do You Actually Need One?
Many sewists feel pressured to upgrade, but a serger isn't mandatory for everyone. Let's look at when it's essential and when it's optional.
Stick to a Standard Machine If...
- You primarily sew woven fabrics like quilting cotton, canvas, or denim.
- You are just starting out and learning the basics of construction.
- You prefer slow fashion techniques like French seams or Hong Kong finishes.
A Serger Shines When...
- You want to sew knit fabrics (jersey, spandex) quickly and professionally.
- You are making activewear, swimwear, or children's clothing.
- You want to drastically speed up your garment construction time.
Common Fears & Myths
The serger has a reputation for being scary, complicated, and aggressive. Let's debunk the most common anxieties beginners face.
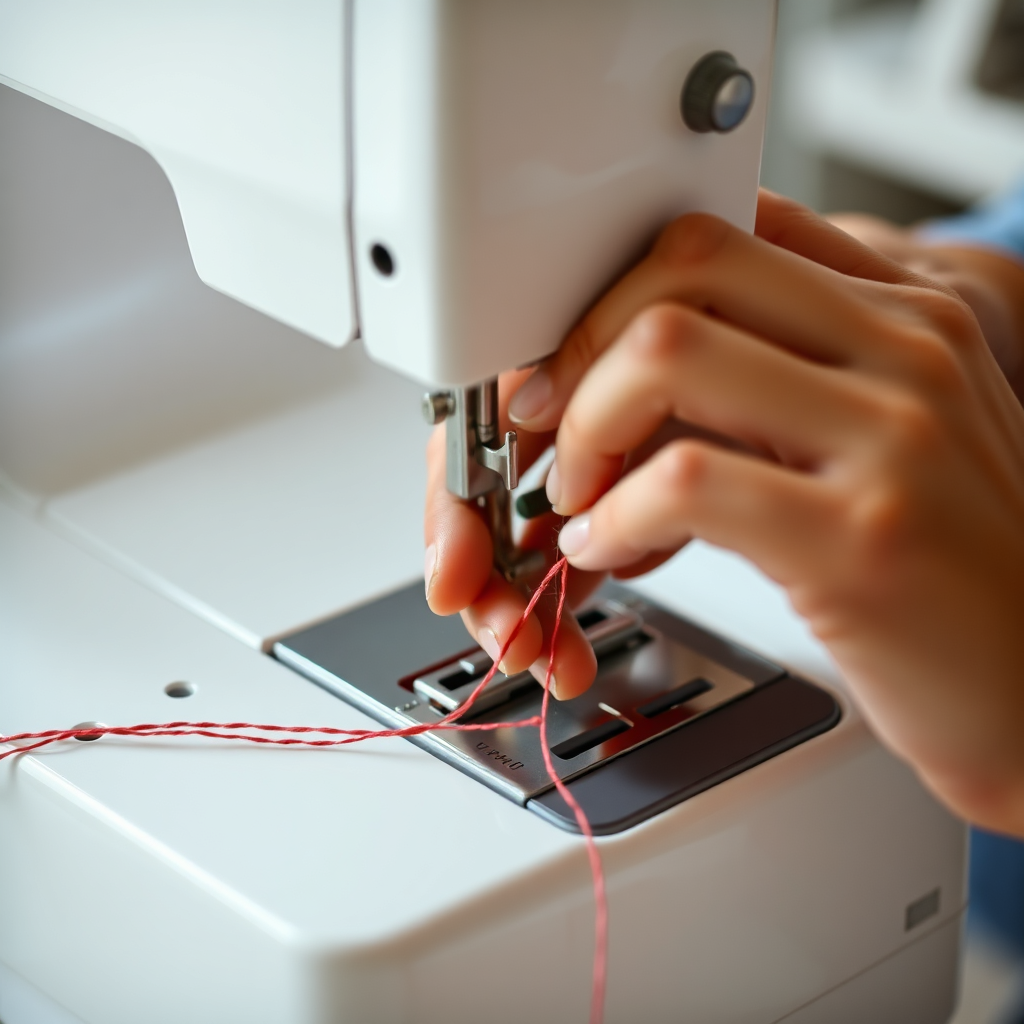
"Threading is impossible."
The Truth: While there are more threads (3 or 4) than a standard machine, modern sergers have clearly color-coded pathways. Once you learn the order (usually loopers first, then needles), it becomes muscle memory.
"The knife will ruin my fabric."
The Truth: You can turn the knife off! For beginners, practicing without the blade engaged removes the fear of accidentally cutting a hole in your garment until you gain confidence.
"It goes too fast."
The Truth: You control the speed with your foot pedal. You can stitch as slowly as you need to. It's not a race car; it's a precision tool under your command.
First Steps for Success
The Tie-On Method
Dreading re-threading? Cut your old threads near the spool, tie the new colors on, and gently pull them through the machine. You rarely need to thread from scratch!
Leave Long Tails
Unlike sewing machines, you can't backstitch. Leave a long chain of thread at the start and end of your seam. You'll weave this back into the seam later to secure it.
The Different Cones
Ready to learn more?
The best way to learn is by doing. We’ve curated a list of free tutorials, recommended beginner machines, and online classes to guide your next stitch.
Contact
Questions, suggestions, or corrections?
Feel free to reach out by email.
This is an educational website. We may not be able to respond to all messages, but we read everything.